I recently soldered copper pipe for my first time, what I did is I bought some fittings and pipe to practice on first, and an attachment to put a hose. I hooked it up to the sink and applied pressure to make sure nothing leaked. It's actually easier to do than it looks.
Basically what you want to get is this:
- flux
- wire brush for the size of pipe you'll be working on - this brush fits snugly inside the pipe fittings and you just twist it around to sand it
- sand paper for the pipe itself (sand on the outside)
- propane torch
- solder
- flint and steel (hand held thingy that makes sparks, to start the torch)
- safety glasses
- gloves are ideal, you WILL get burned pretty badly if you touch the pipe. Did it by error without thinking I went to move the piece I was working on... took like 2 weeks to heal.
Basically sand the outside of the end of a pipe, sand the inside of the fitting, apply flux on both, fit them all the way. I like to give a little twist to spread the flux more evenly.
Then heat the fitting itself, and the pipe a bit, and keep trying to apply solder until it melts on contact, then try to get it all around, but it should wick around on it's own.
This was my first practice project, no leaks!

First real project (just adding a cap)

And another recent project:


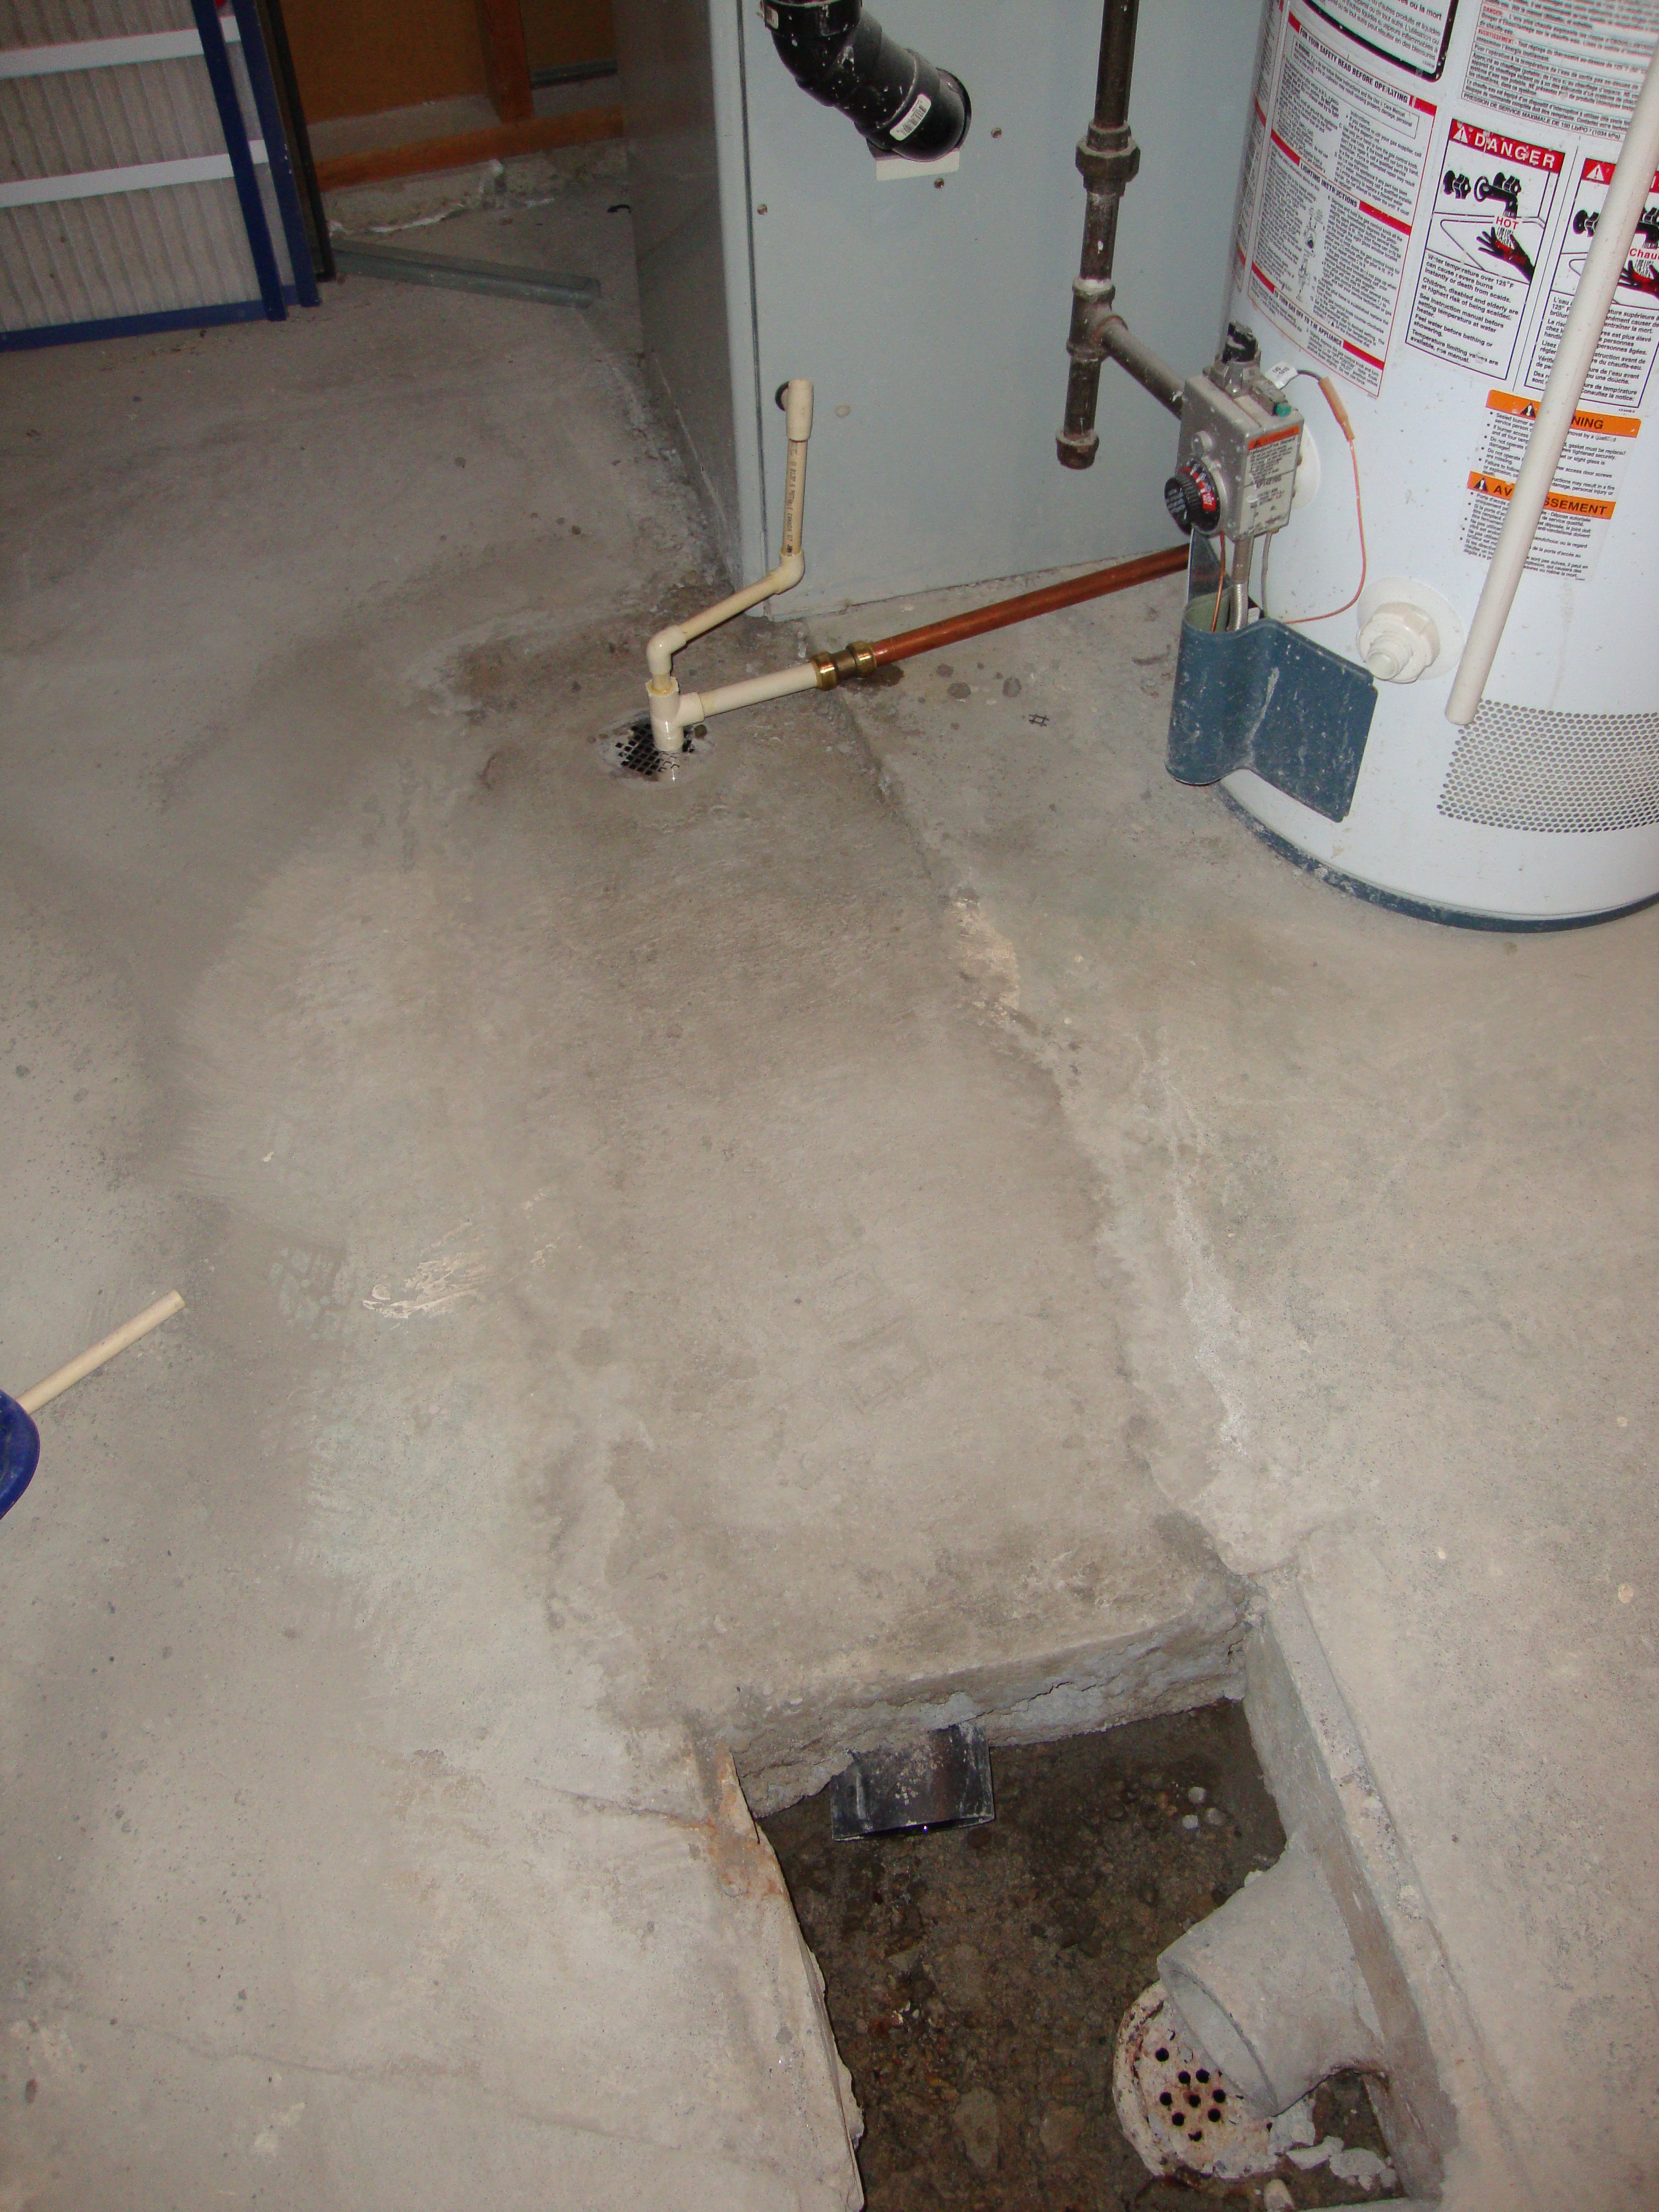
Adding humidifier drain (used to use a bucket before)
Oh and for the ball valve, if it's one where one end is twist and the other end is solder, do the solder part first then twist after. I'm not a huge fan of those I rather just solder on both ends. Leave the valve open while soldering as to not melt it internally. Let it cool before you do the other side, or see if you can do it right away without applying too much more heat. Most valves will have instructions. Some may require you to take it apart.
The trick with anything that has to be twisted is if it does not work the first time you sometimes have to cut the pipe upstream so you can twist it more and redo it.

 but yeah im the same way. i try to be a pro at everything, and usually i do just as good as a pro it just takes me 10x longer.