How the hell do I remove this Arctic Cooling Freezer 13 mounting kit?

riahc3

Senior member
Apr 4, 2014
640
0
0
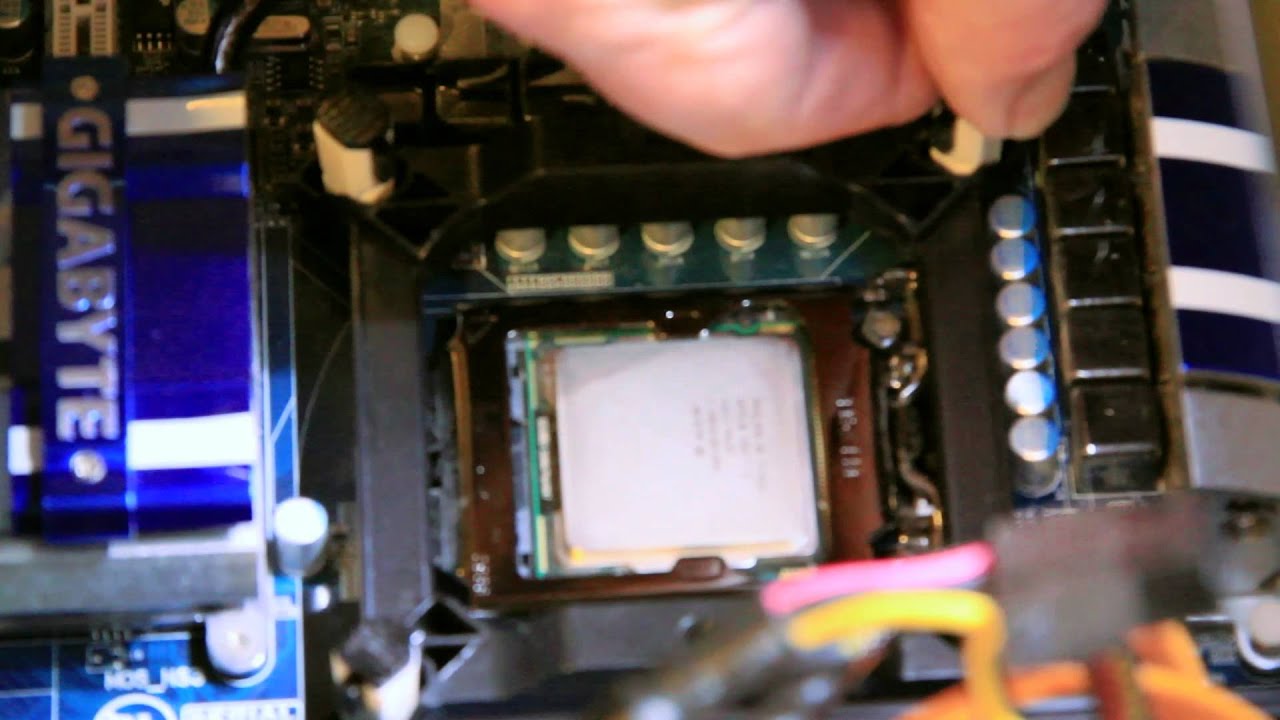
A few months back, I got a Arctic Cooling Freezer 13 heatsink and Im happy with it.

I have to upgrade the processor but the damn mounting kit is hard to remove.

I went ahead looked at the manual and all I have to do is....pull? I tried pulling it but was kind of wondering if I was gonna tear my motherboard apart!
 

kiriki

Junior Member
Nov 10, 2008
24
0
66
You'd need to undo the pushpins. I've never used this particular cooler so I have no idea how you undo the pushpins.
 

monkeydelmagico

Diamond Member
Nov 16, 2011
3,961
145
106
The reverse of installation...... Are you saying the cooler seems glued to the CPU? That's not uncommon when the thermal paste makes a semi-rigid bond to the CPU cooler. That takes some finesse with a pen or stick to wedge under an edge and gently seperate the cooler from the CPU
 

riahc3

Senior member
Apr 4, 2014
640
0
0
The reverse of installation...... Are you saying the cooler seems glued to the CPU? That's not uncommon when the thermal paste makes a semi-rigid bond to the CPU cooler. That takes some finesse with a pen or stick to wedge under an edge and gently seperate the cooler from the CPU
No. Im saying the plastic part that is attached to the reverse side of the motherboard is on top of the CPU and I cannot remove the latch that makes it easy to remove the CPU and replace it. The thermal paste can be removed easily.
 

VirtualLarry

No Lifer
Aug 25, 2001
56,337
10,044
126
No. Im saying the plastic part that is attached to the reverse side of the motherboard is on top of the CPU and I cannot remove the latch that makes it easy to remove the CPU and replace it. The thermal paste can be removed easily.

Are you talking about the LGA socket itself, or the cooler? Please be more specific.

Because if there is a piece of plastic, over the CPU, then you've done something wrong somewhere.
 

riahc3

Senior member
Apr 4, 2014
640
0
0
Are you talking about the LGA socket itself, or the cooler? Please be more specific.

Because if there is a piece of plastic, over the CPU, then you've done something wrong somewhere.
I apoligize for the horrible explanation.

Here is a picture Ive found on Google:


maxresdefault.jpg


There you see that plastic with four beige corners to attach it to the motherboard surrounding the CPU but it also surrounds the typical metal stick that secures the CPU to the actual stock so it cannot be lifted up and replaced.

I hope is that is better :)
 

VirtualLarry

No Lifer
Aug 25, 2001
56,337
10,044
126
Huh. Ok, thanks for that picture, that gives me a better idea of what you're up against.

I'm not familiar with those fasteners, but the regular Intel stock heatsink clips, seat against the mobo, and then you press down on them to "click" in. To remove them, you rotate them with a flat-blade screwdriver like 90deg., and then you can pull them up and remove the heatsink.

I wonder if that heatsink uses similar clips?
 

redzo

Senior member
Nov 21, 2007
547
5
81

VirtualLarry

No Lifer
Aug 25, 2001
56,337
10,044
126
I think that actually refers to the black push pin, not the black squared structure...

And? You would have to remove the corner fasteners first, then the plastic square should just lift out?

Did you not assemble this cooler onto the board in the first place? From your comments, you seem not to know how it came together.
 
Last edited:

redzo

Senior member
Nov 21, 2007
547
5
81
:)
http://www.arctic.ac/eu_en/pushpins-new-cpu-coolers.html#?bild0

(push pin installation)If you look closely at the push pin picture, it seems to lock itself after reaching proper position while pushing, due to that black plastic nail part within the push pin assembly.

(push pin removal)I believe that you have to squeeze the black sides of the push pins while pulling them out. I think that this should unlock the black plastic nail from inside the white push pin assembly, then the push pin should "jump out of its mounting hole".

After pinching/unlocking all 4 push pins, you still may have to gently pull that plastic square part(mounting plate) surrounding the socket or pull the push pins themselves. Stock lga push pins also don't get out that easy. Sometimes you have to pull them out harder after unlocking them. Follow the install guide in reverse order! http://www.arctic.ac/eu_en/downloads/dl/file/id/1522/freezer_13_web_manual_english.pdf page 3-4
 
Last edited:

redzo

Senior member
Nov 21, 2007
547
5
81
Clearly a paid spammer to make the forums look busy
Optimistic approach and waiting for that "success story" feedback,

It's seems too meticulous. I hope it's more of a classical "a little stone(push pins) in the way overturns a great wain" scenario: the story of my life :p
 

PhIlLy ChEeSe

Senior member
Apr 1, 2013
962
0
0

Look at the guys post history, he has 13+ pages of topic's seriously? But still no clue how to remove a CPU cooler AFTER he installed it! LOLZ!
I minds well go back to EVGA forums, at least those people really are learning.
 

Mike64

Platinum Member
Apr 22, 2011
2,108
101
91
Look at the guys post history, he has 13+ pages of topic's seriously? But still no clue how to remove a CPU cooler AFTER he installed it! LOLZ!
He may be <adjective of choice>, but there was no need to insult the board's managers by suggesting he's a "paid shill," fer chrissakes... Would a paid shill have started this thread?
 
Last edited:

asasasas8

Junior Member
Oct 5, 2019
1
0
6
Hi riahc3 and to all lovely users around these forums...l have an answer to your question but as l see l'm a bit late...well this goes to whoever encounters the same problem from now on , since l troubled myself with the same problem lately that l wanted to upgrade my cpu and nowhere in this kind of forums not in the entire internet l could find an answer ...here is what l found by myself after some time tackling with it...it turned out if you flip over your motherboard ( if you do not want just open the PC from the backside ) from the backside you will encounter the tips (2) of these white mounts ( 4 ) surpassing the motherboard ( back ) and pointing in opposite directions...you just use a nipper - pincer or some kind to just push one side of these tips towards the other and then push it out of the motherboard and ...that's it ... you are free to go... questions ???