- Dec 26, 2012
- 137
- 5
- 81
Hi
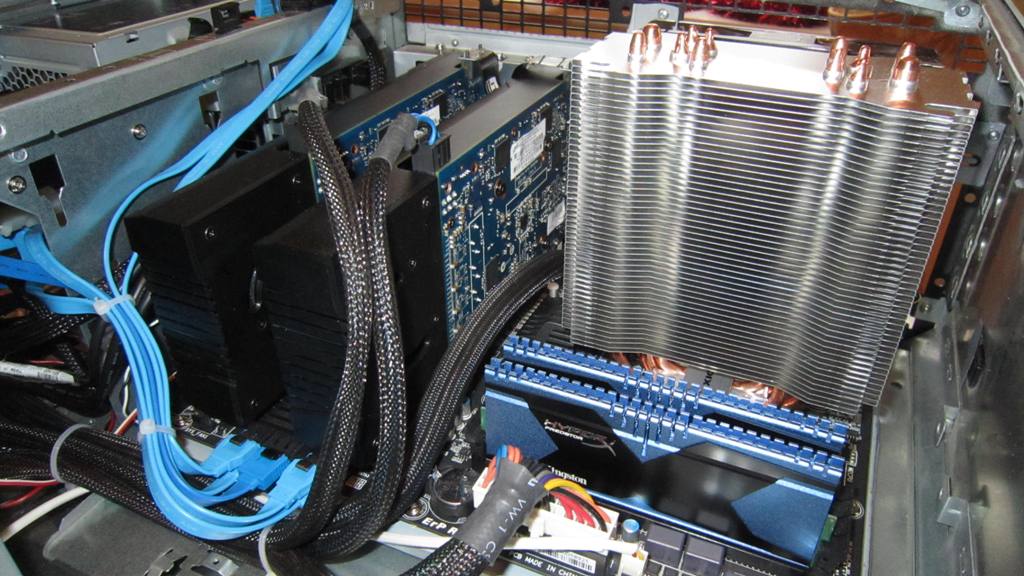
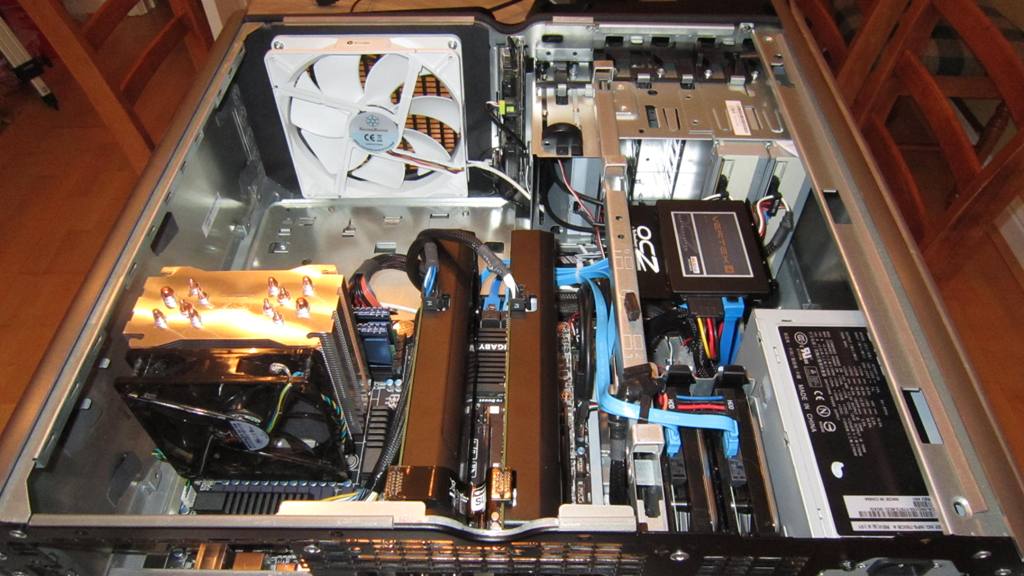
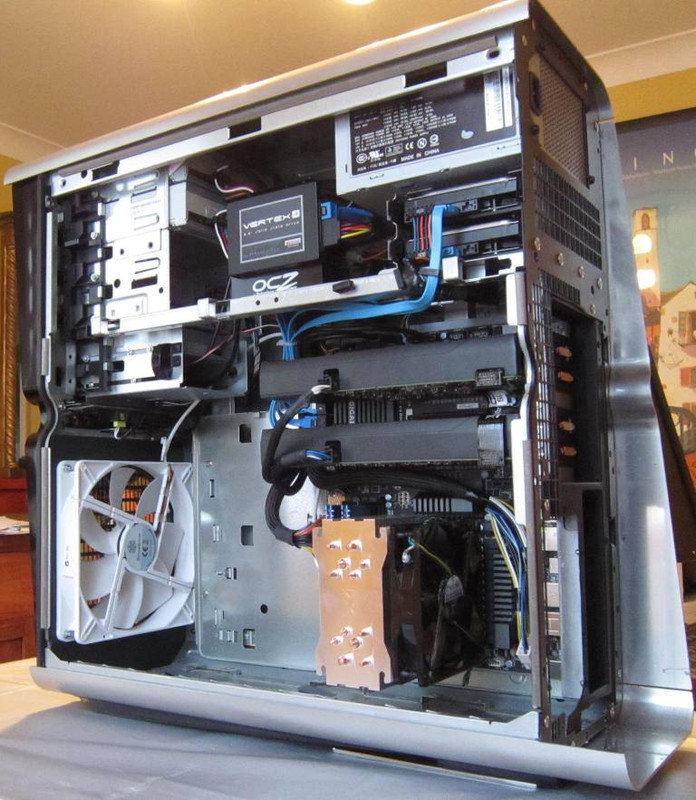
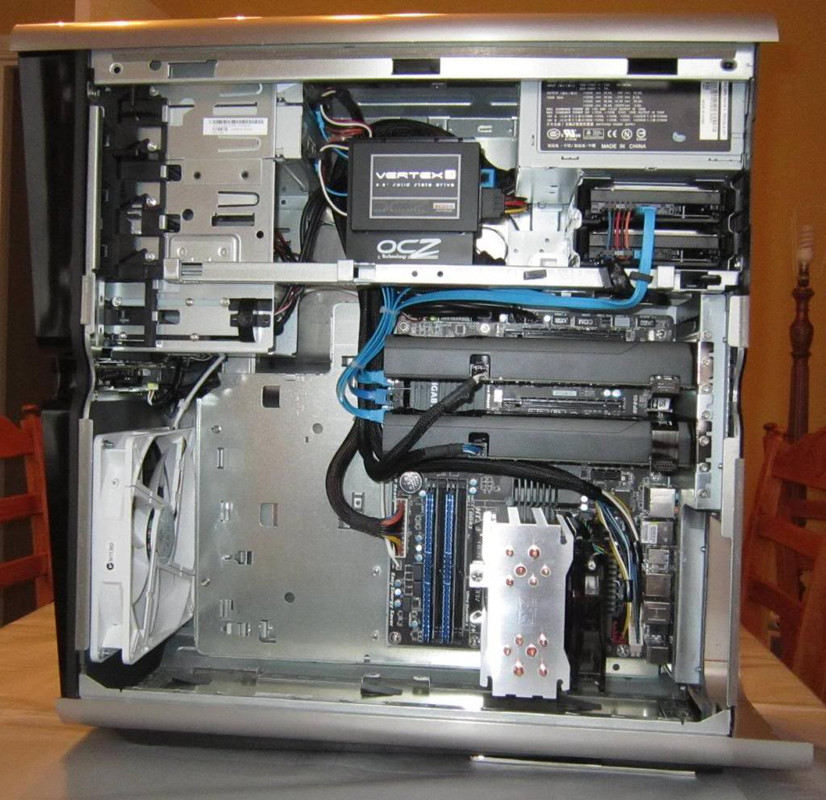
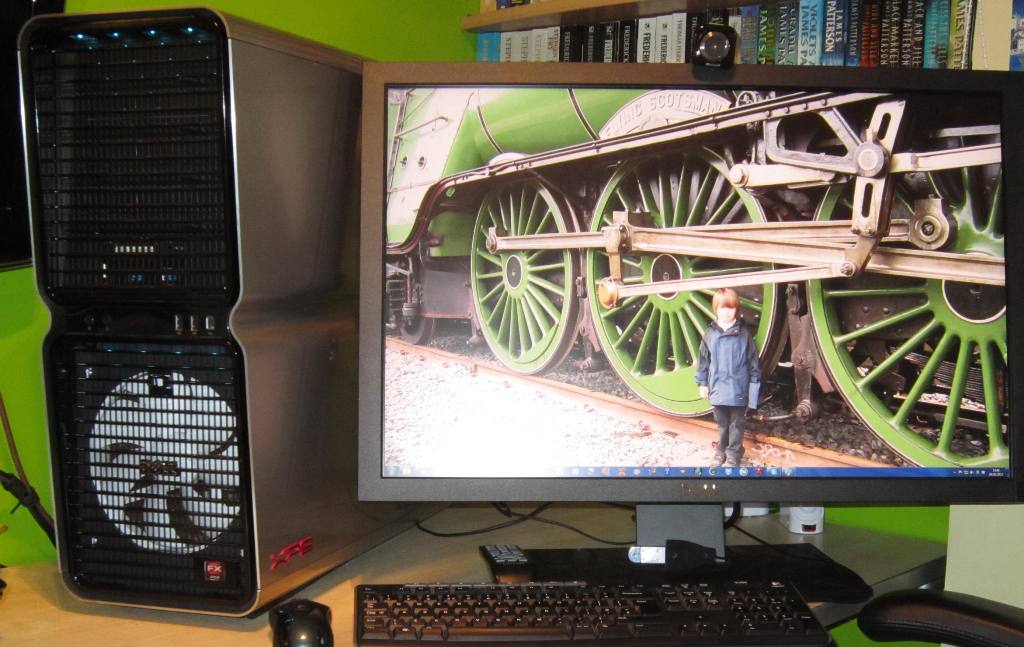
I bought a Dell XPS 710 with a QX6700 CPU back in May 2007, and it was my main computer at home for the next 5 years. Until one day in October 2012, when it refused to switch on. I thought (and hoped) the problem might be in the PSU and bought another on eBay for £35. But it still wouldn't start and I had to accept the motherboard, known to be a weakness on these machines, had expired. Unwilling to invest further in failure by buying a replacement BTX mobo I bought a Coolermaster HAF922 case, ASUS P5K mobo, Zalman CNPS9900 cooler and OCZ 750W PSU. Into the new case I transferred the QX6700, DDR2 RAM, HDDs, DVDs, and soon I was up and running again.
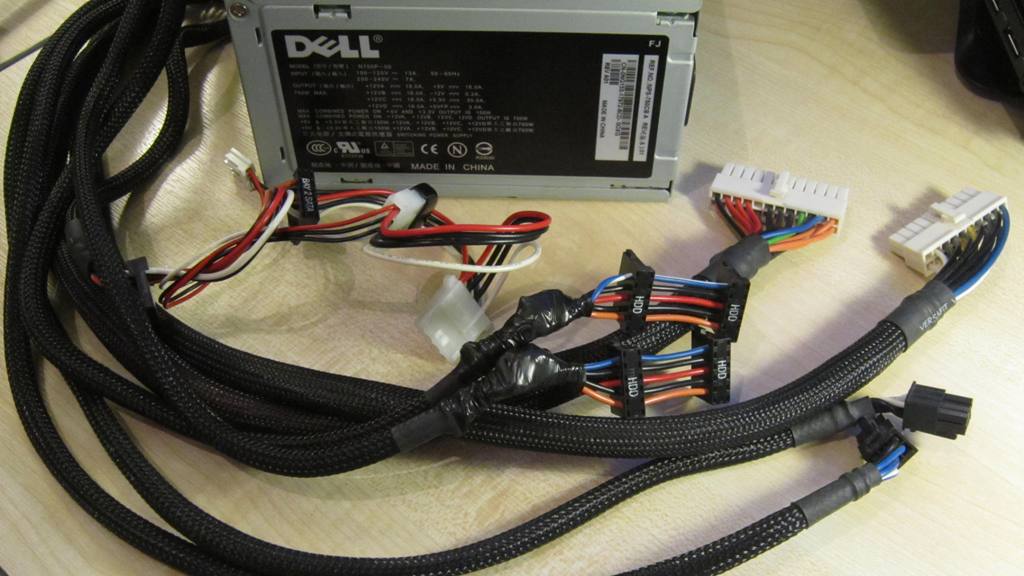
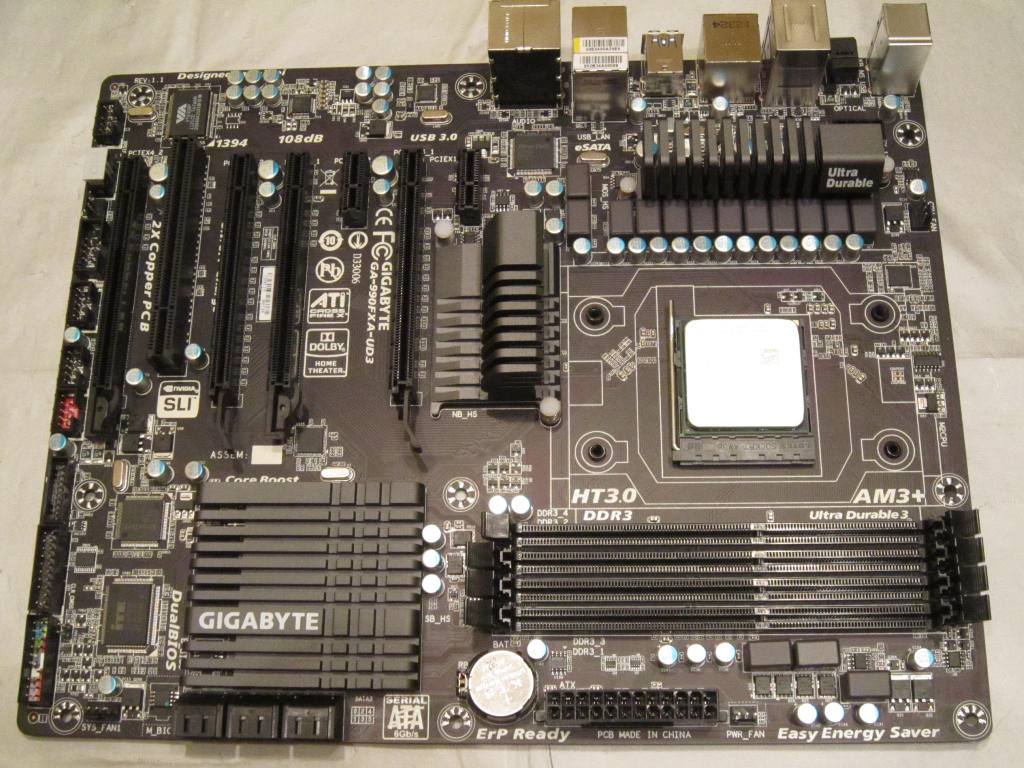
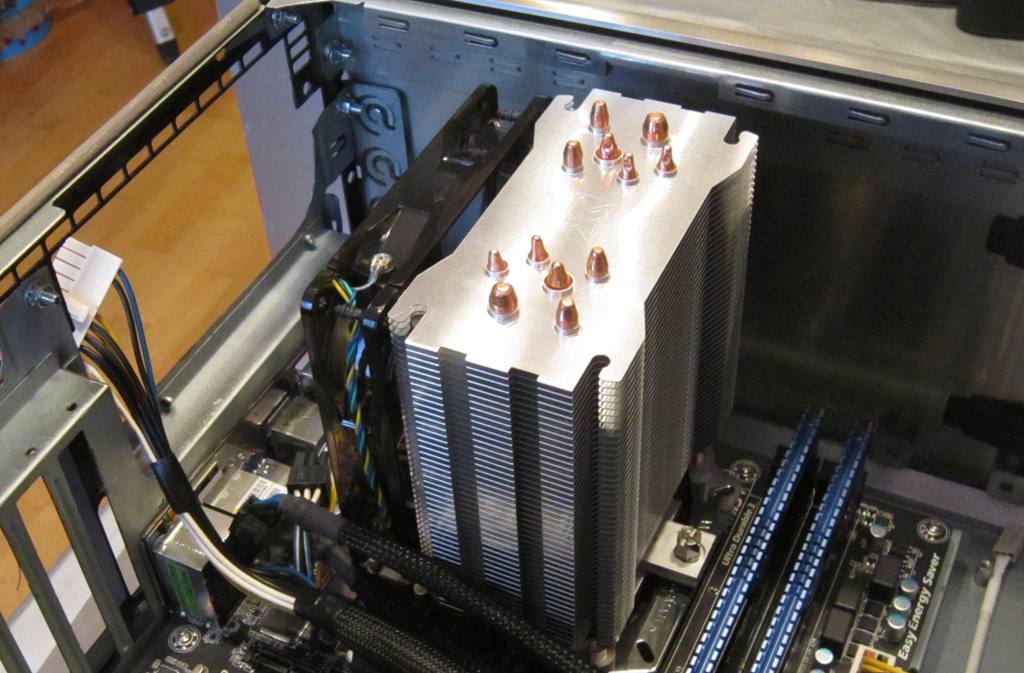
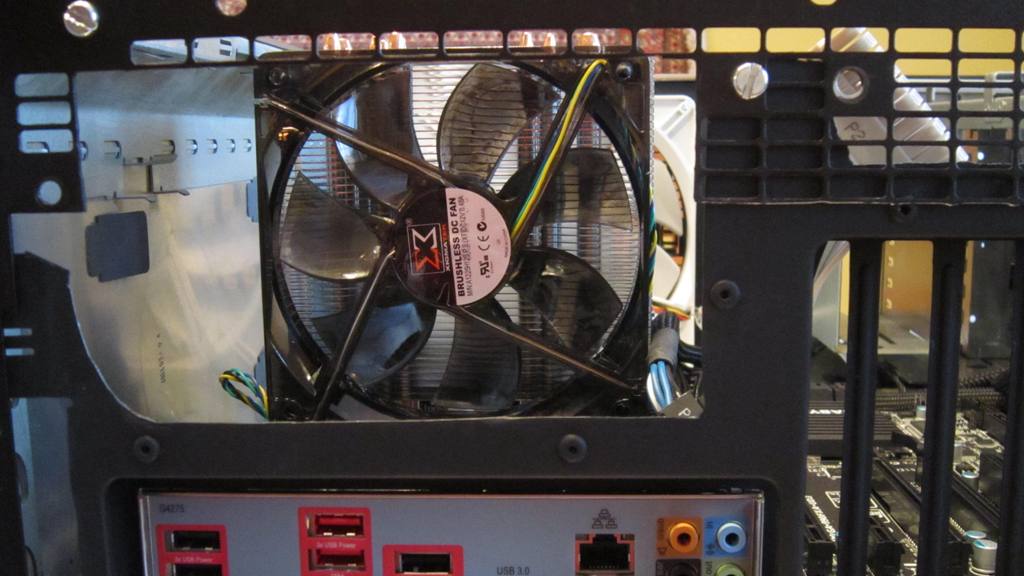
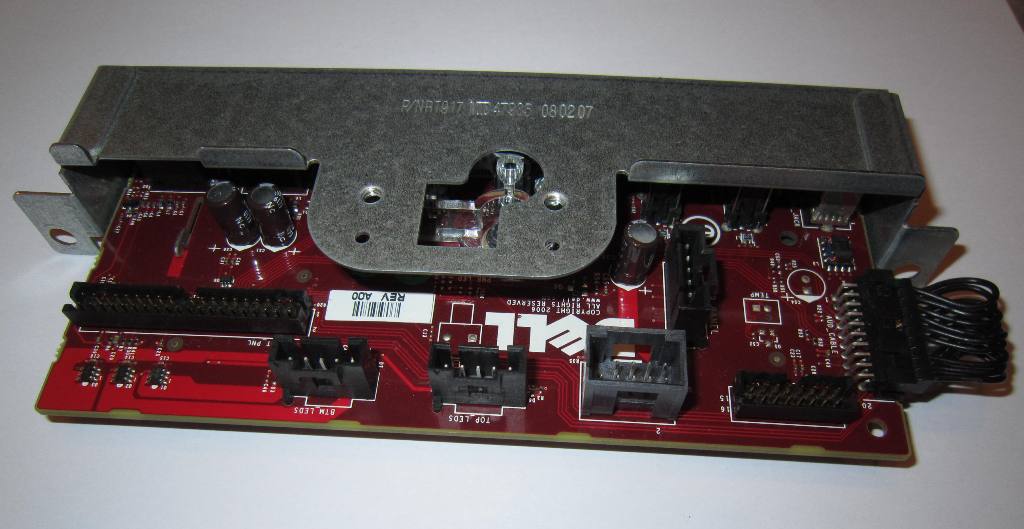
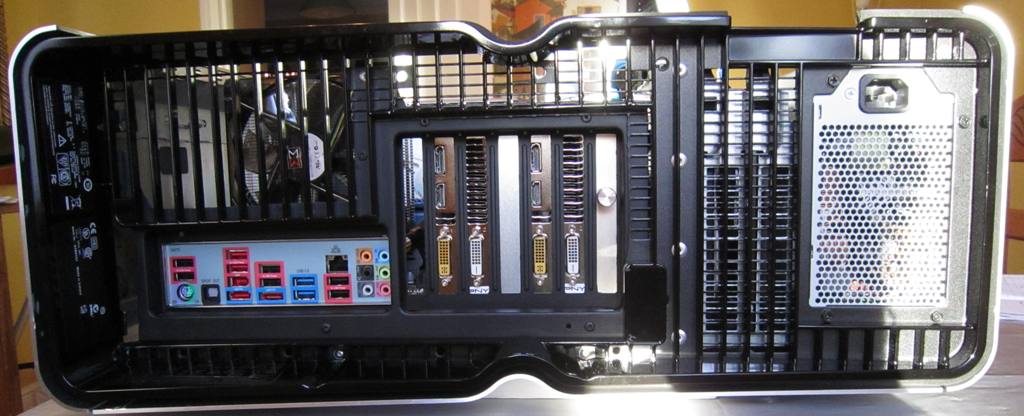
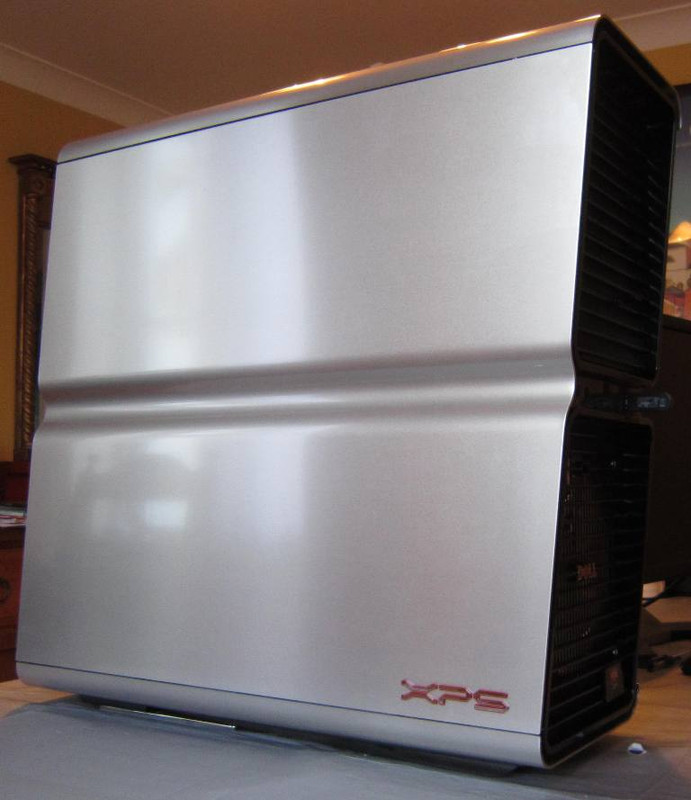
But I missed that gorgeous Dell XPS case and wanted to use it to build a new rig. However, there are issues: the main one being that its BTX motherboard has the slots on the left and the ports on the right, but BTX is old-tech (socket 775 stuff) and upgrading to an ATX board means having to accommodate the case to accept ports on the left and slots on the right. There are other issues: with the proprietary Dell PSU and with the front panel and the LEDs.
A bit of time on Google showed that a number of people had converted the case to accept an ATX motherboard. It didn't look easy, requiring good skills at metalwork and electrics. And some people went as far as welding and painting. Nevertheless, aiming more at crude-but-functional than perfection, with my limited skills and toolset, I decided to have a go.
I took a few pictures along the way, and having now nearly succeeded, I thought I'd share the experience..
1. GUT THE CASE
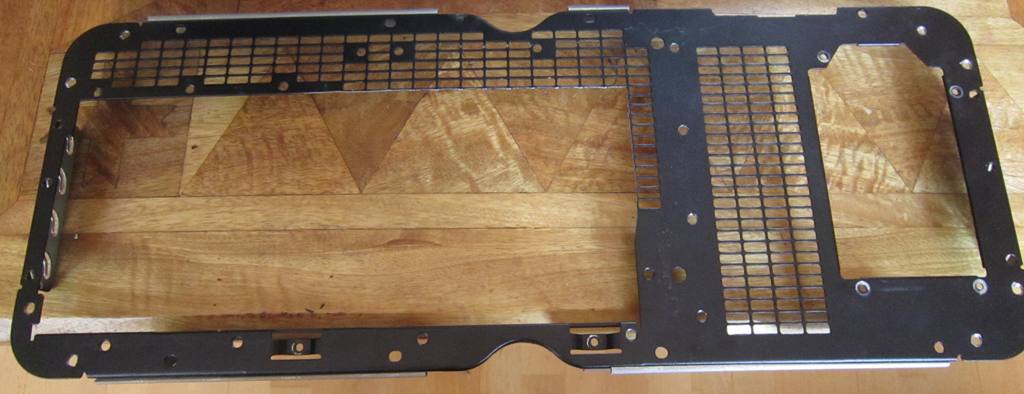
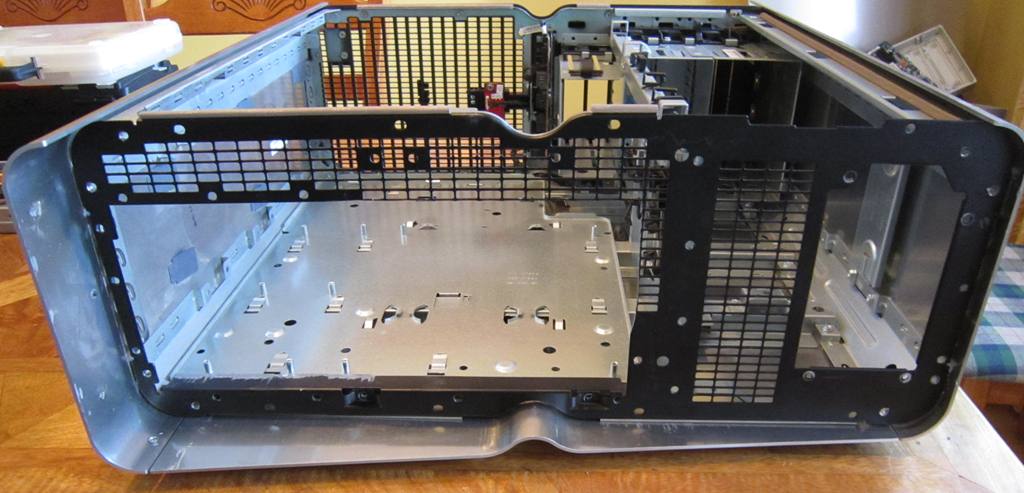
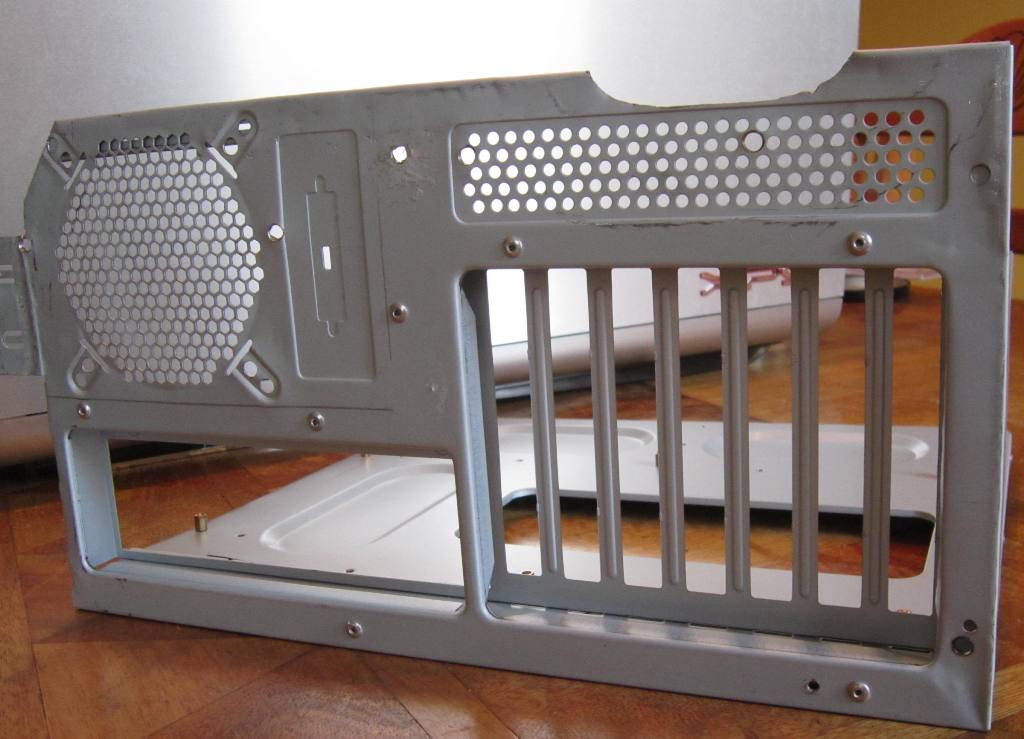
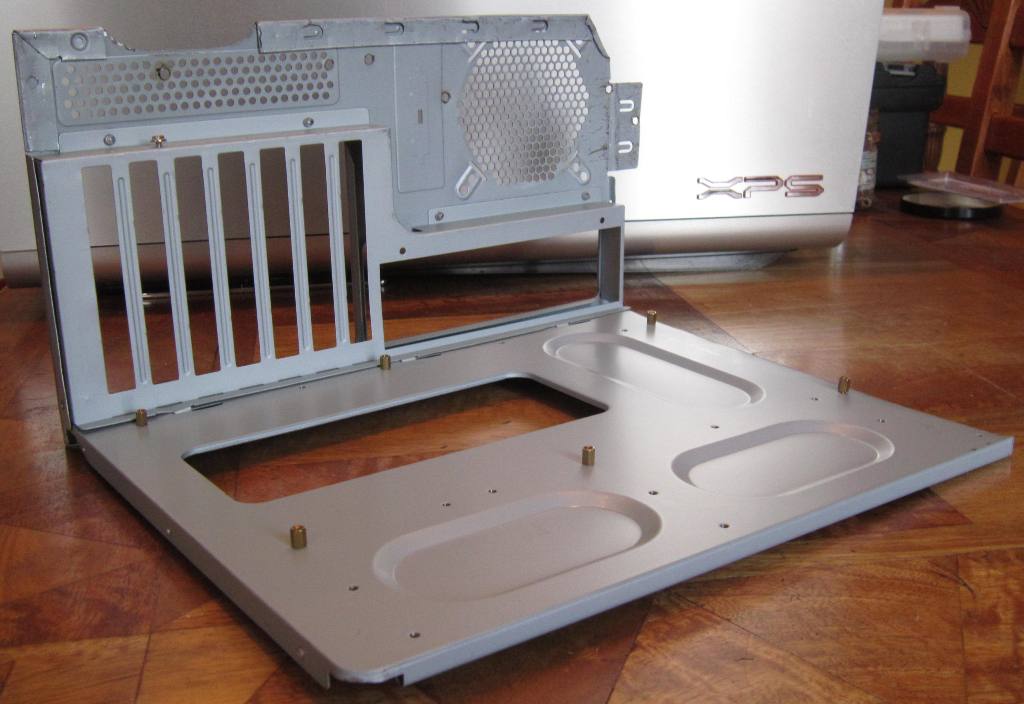
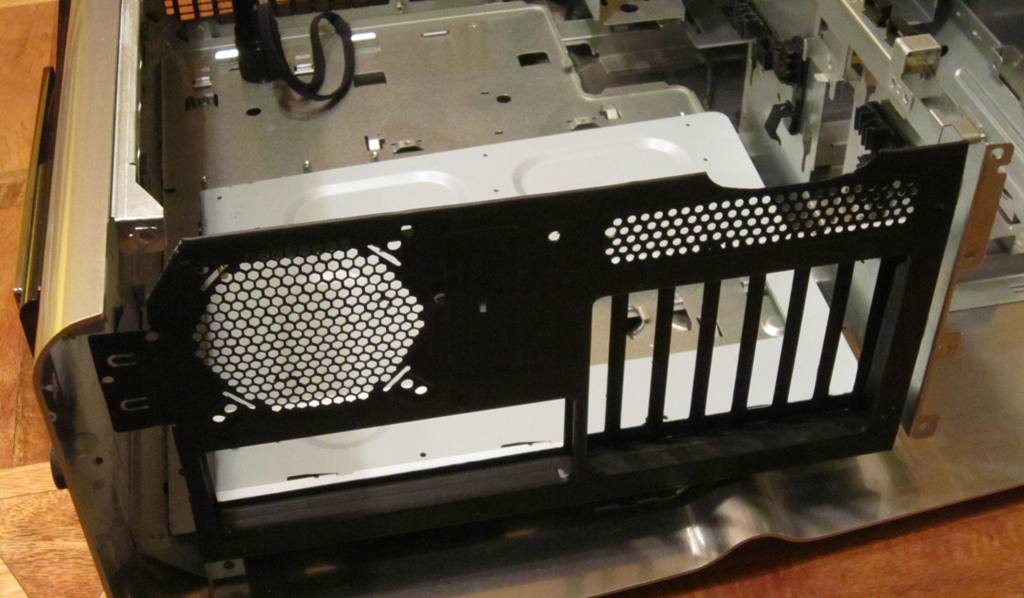
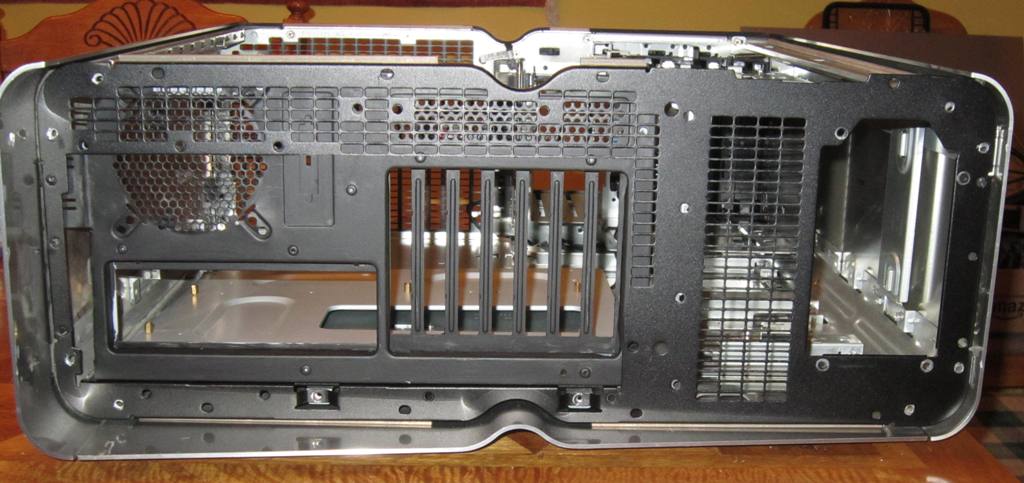
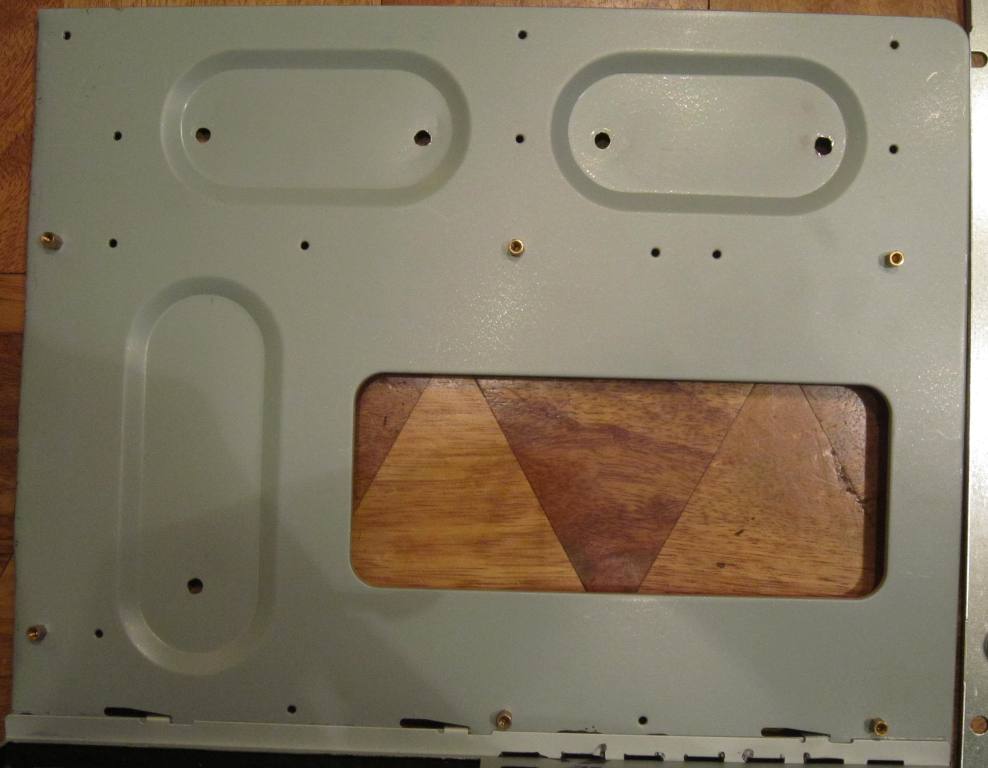
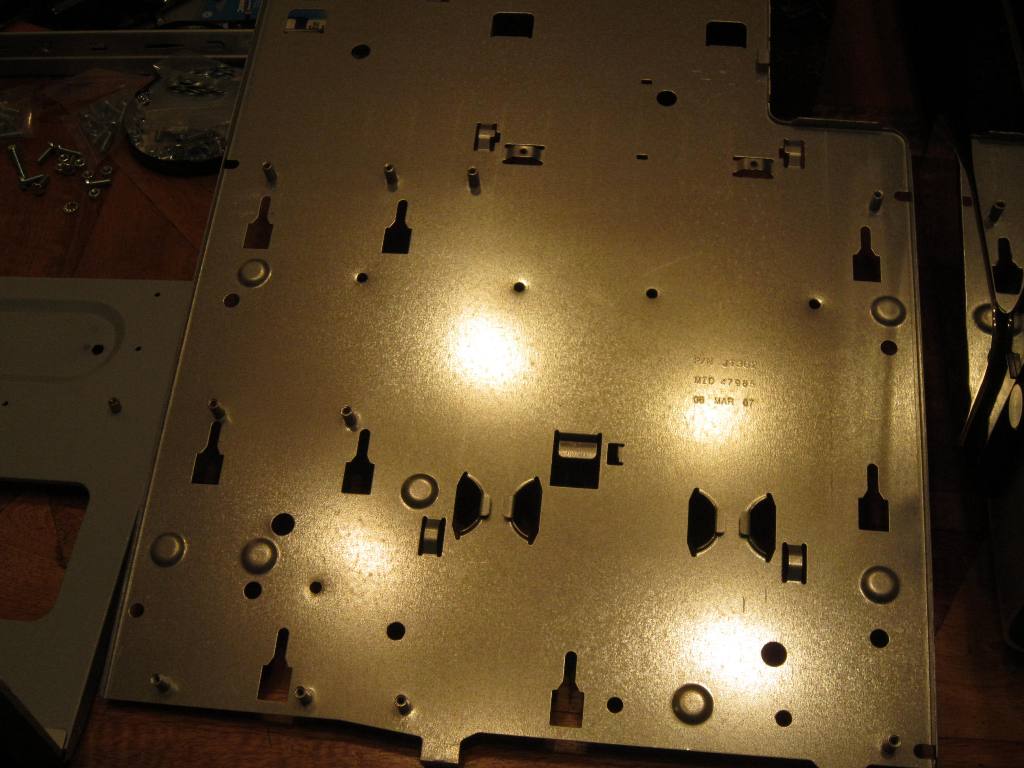
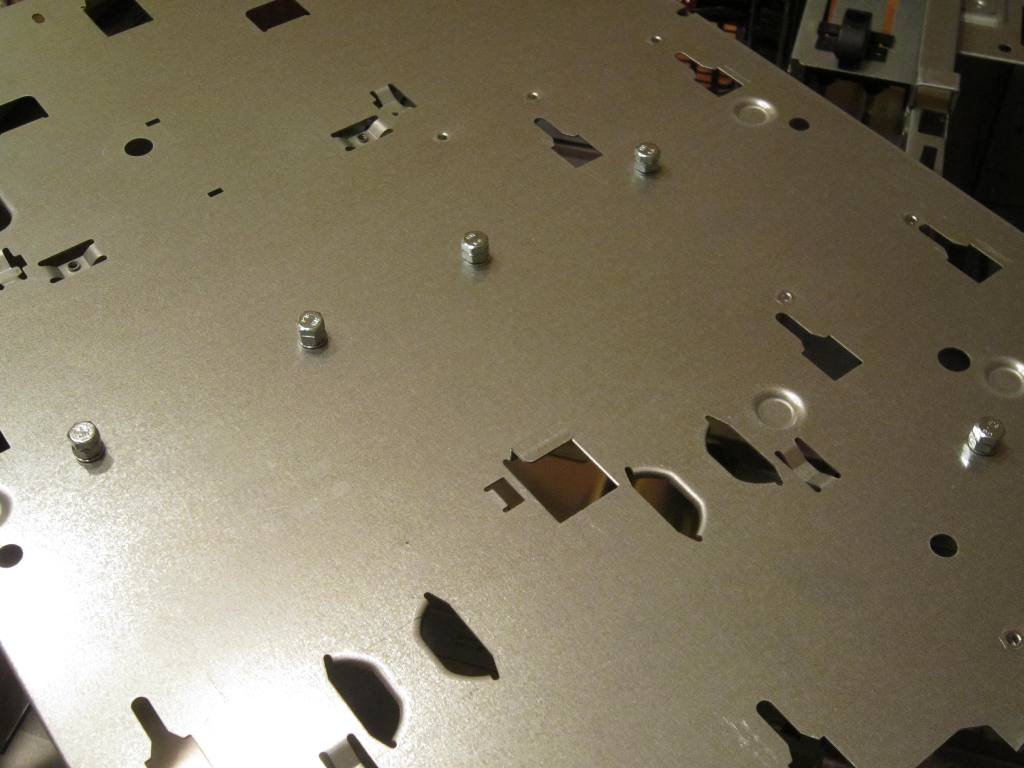
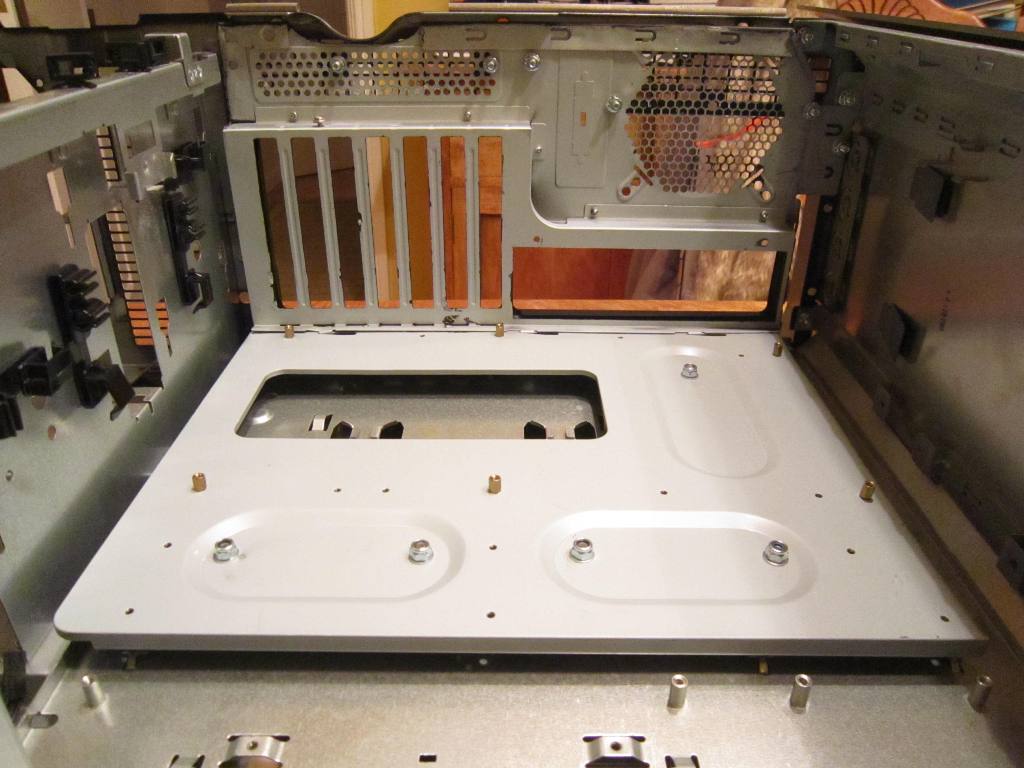
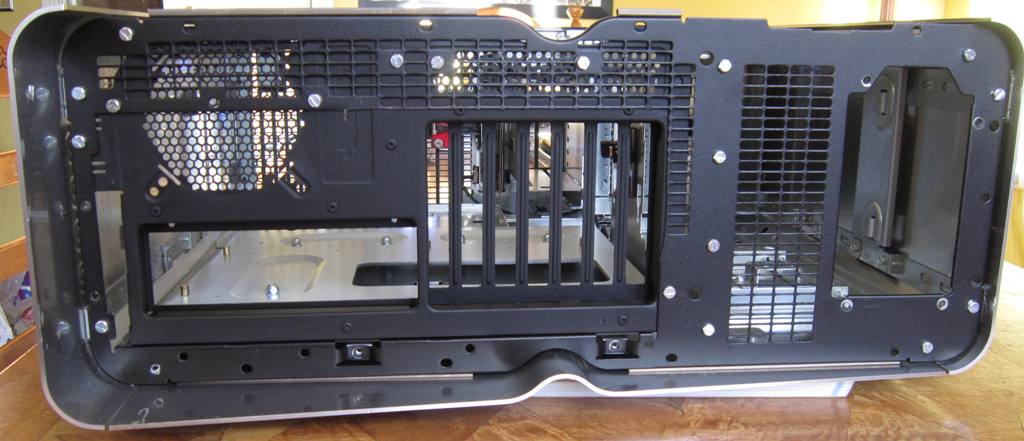
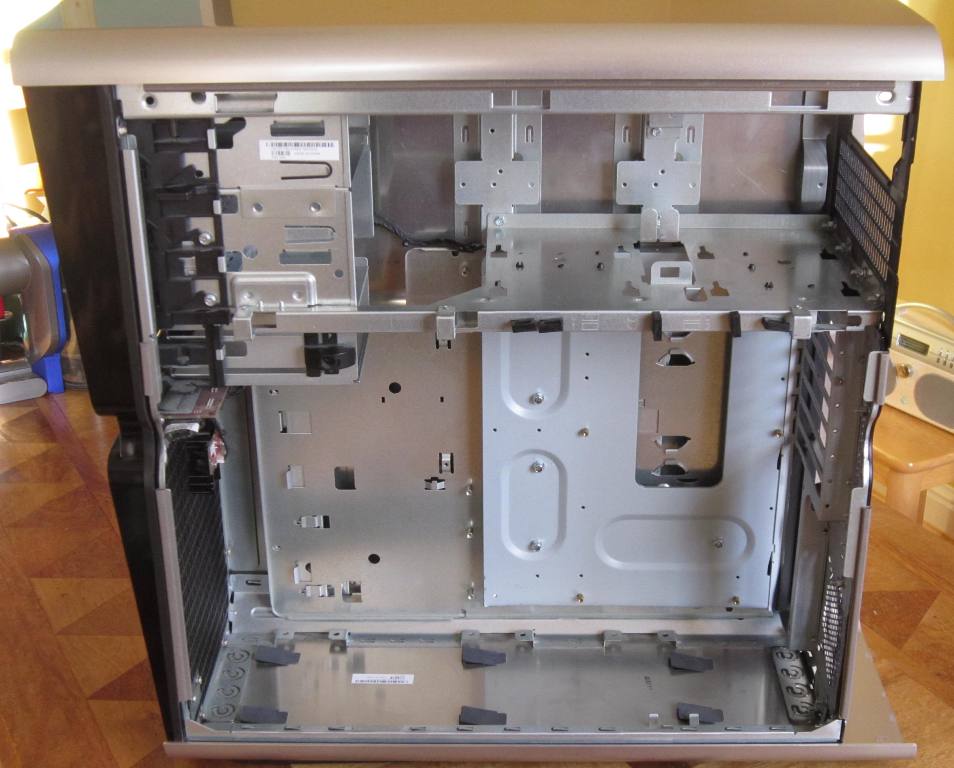
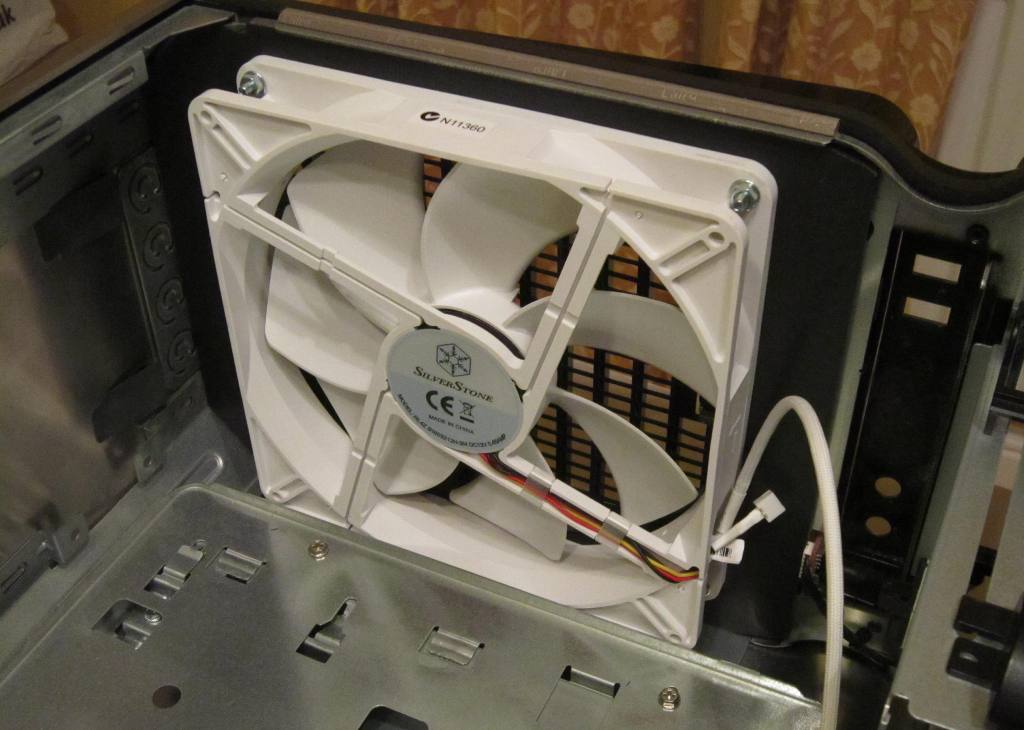
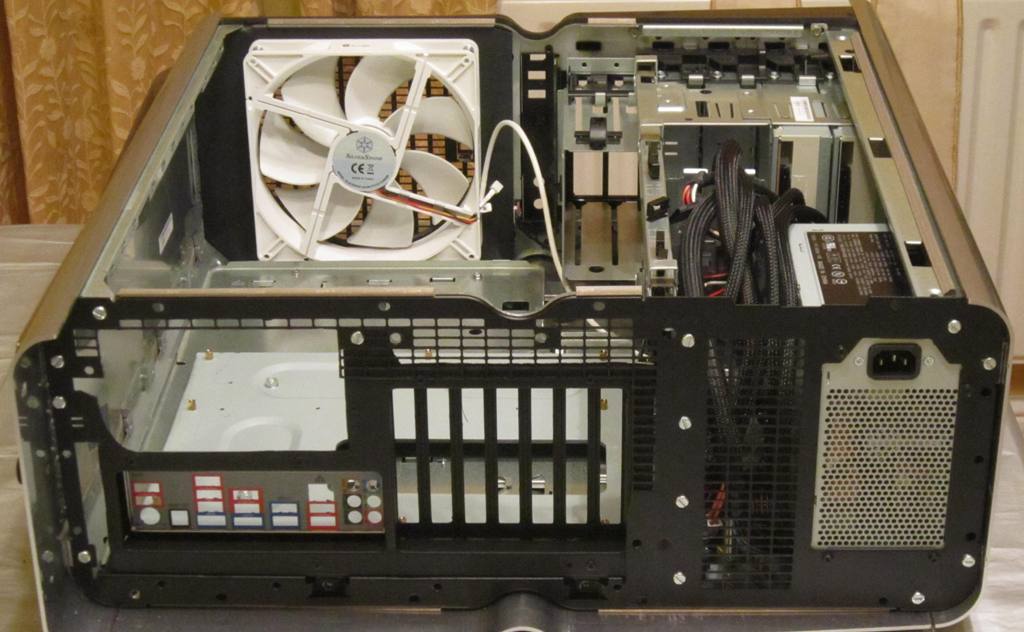
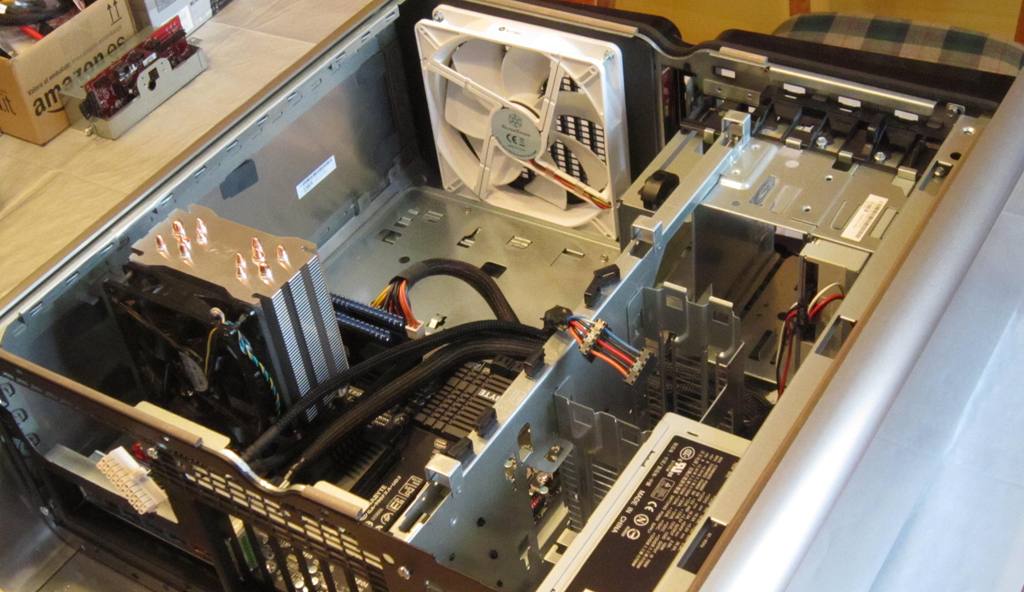
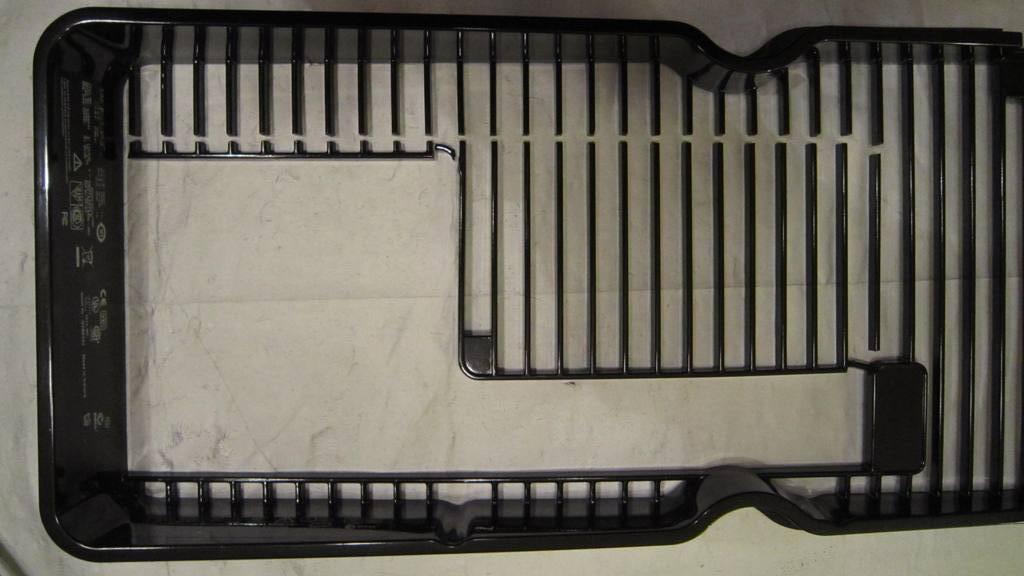
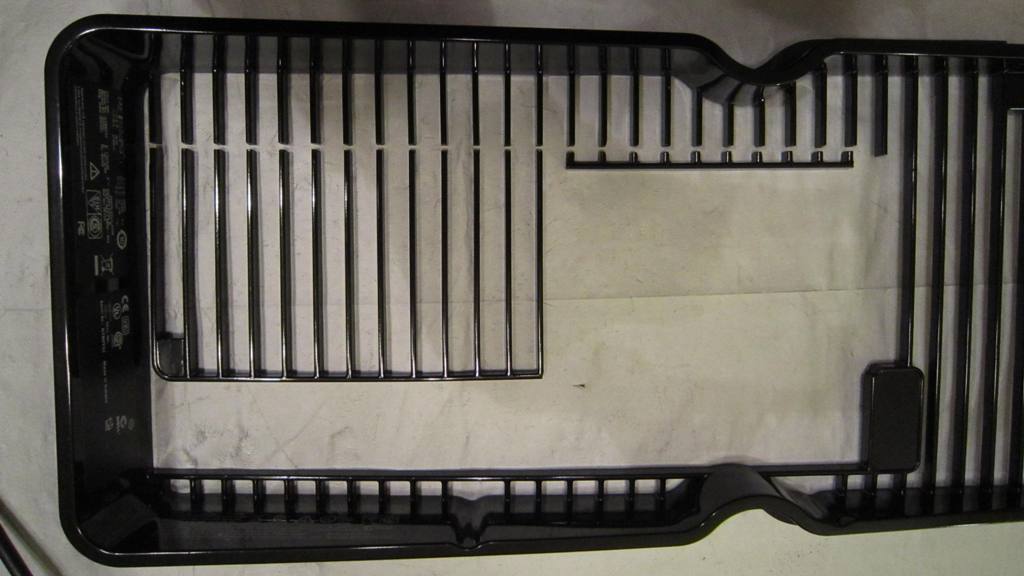
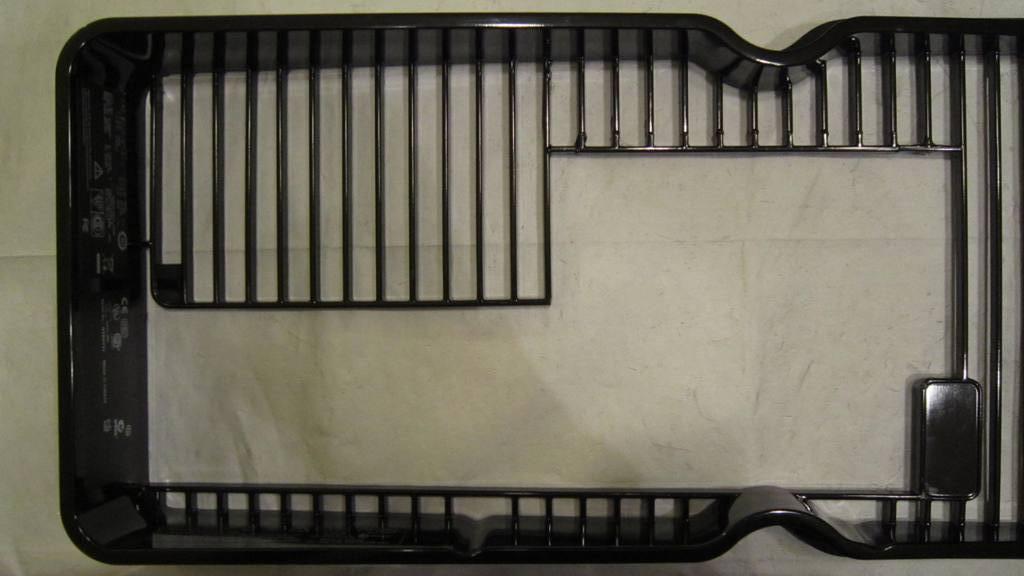
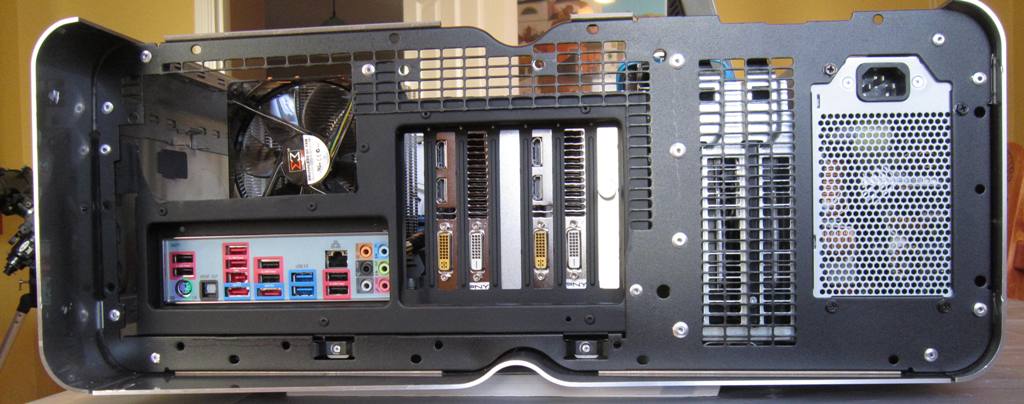
Remove all the internal components - only requires a screwdriver. The plastic back grille is held on by screws and easily removed. The black back panel however is held on by rivets and these have to be drilled out.

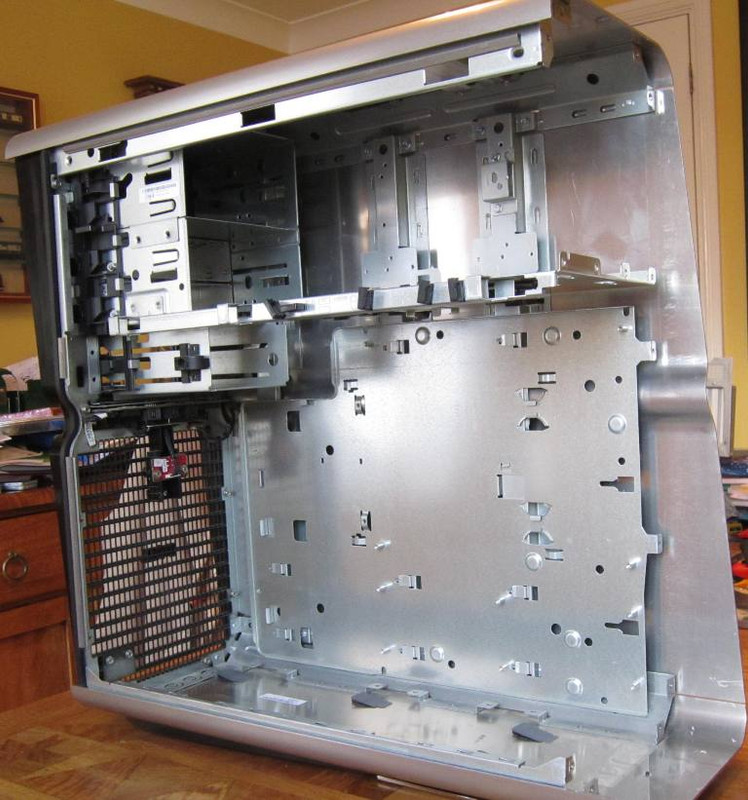
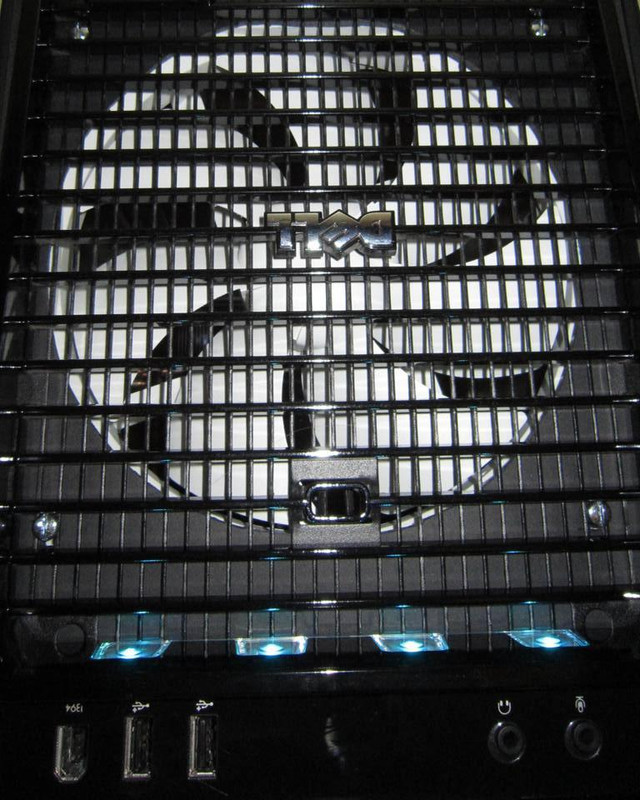
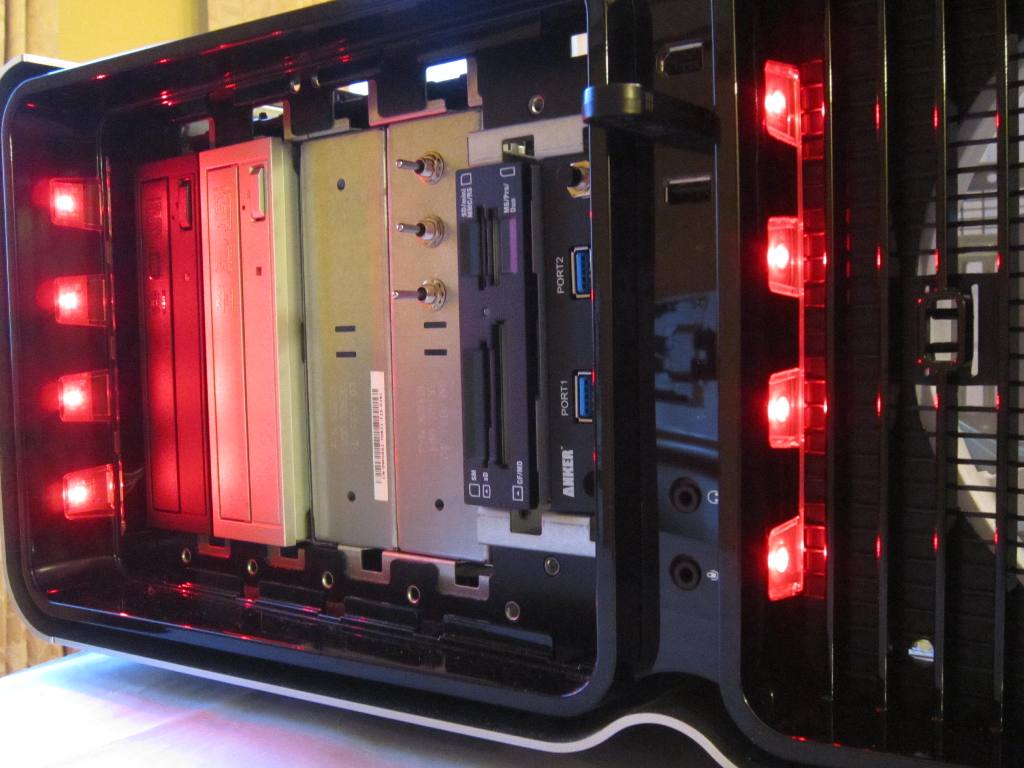
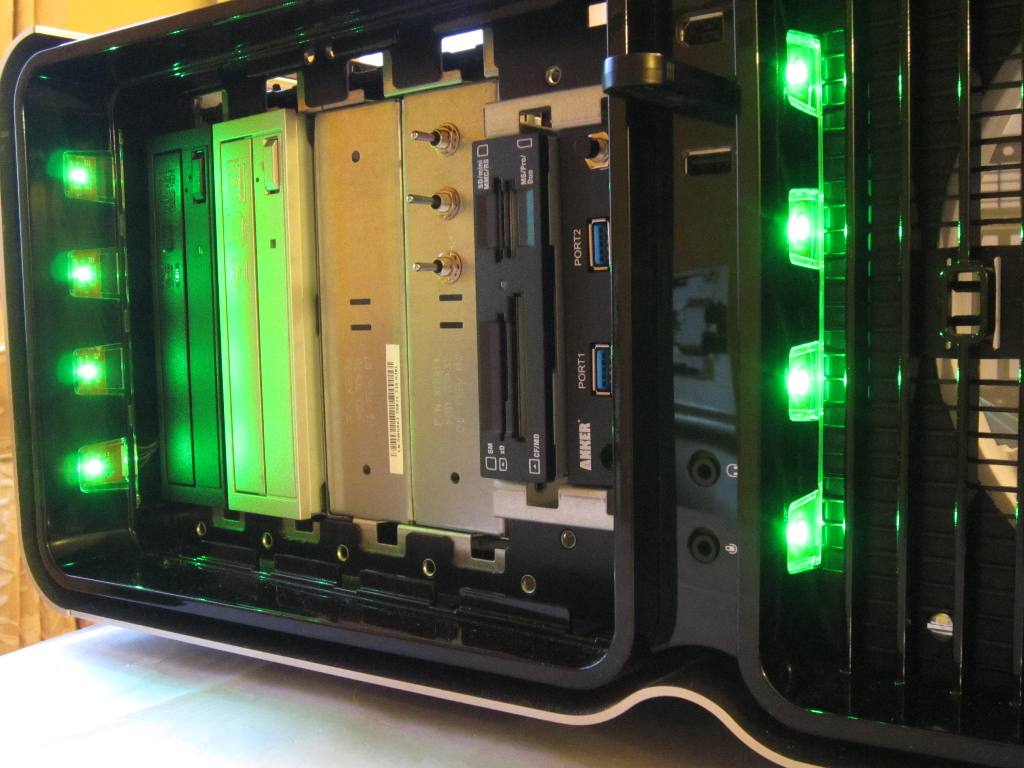
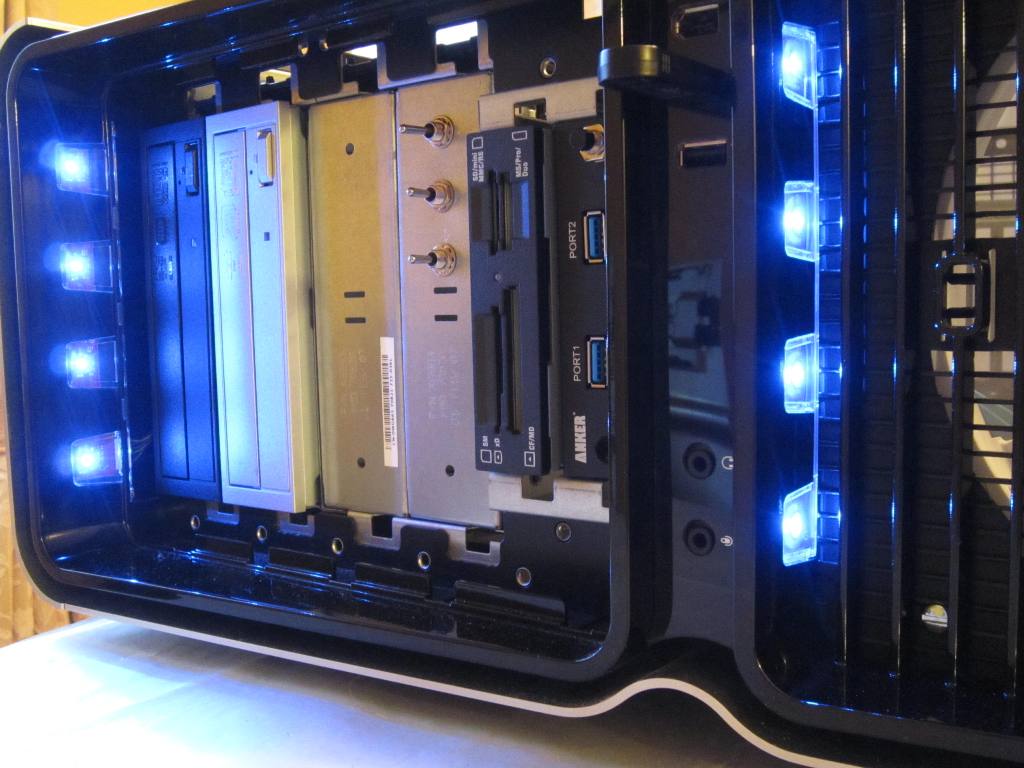
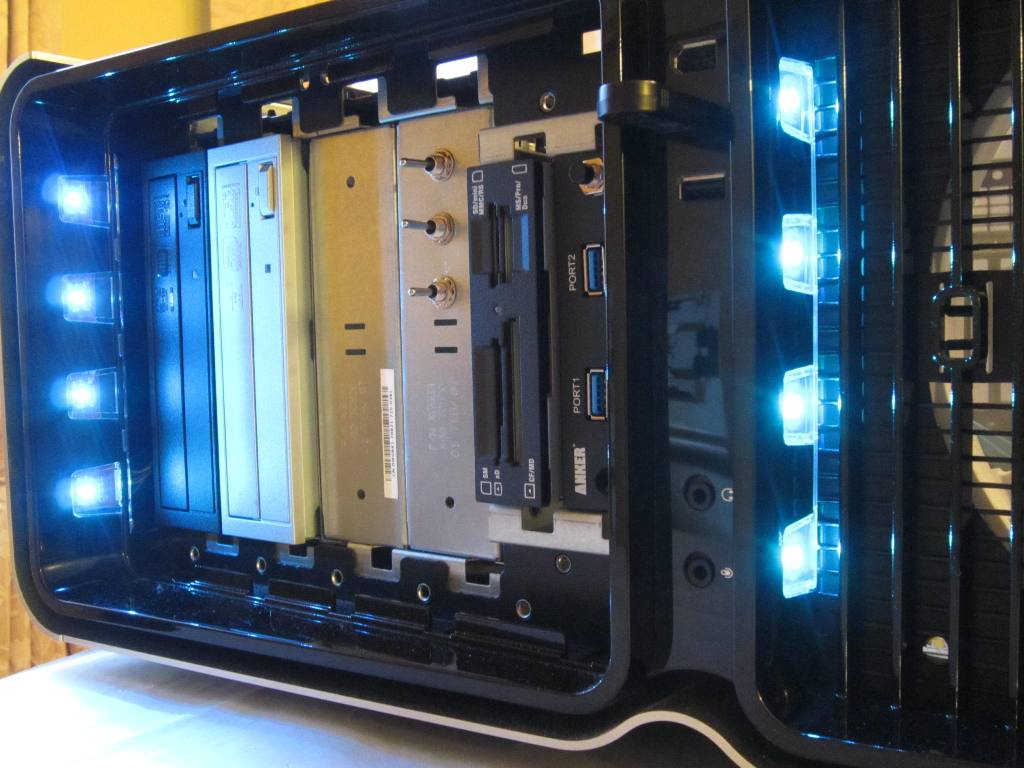
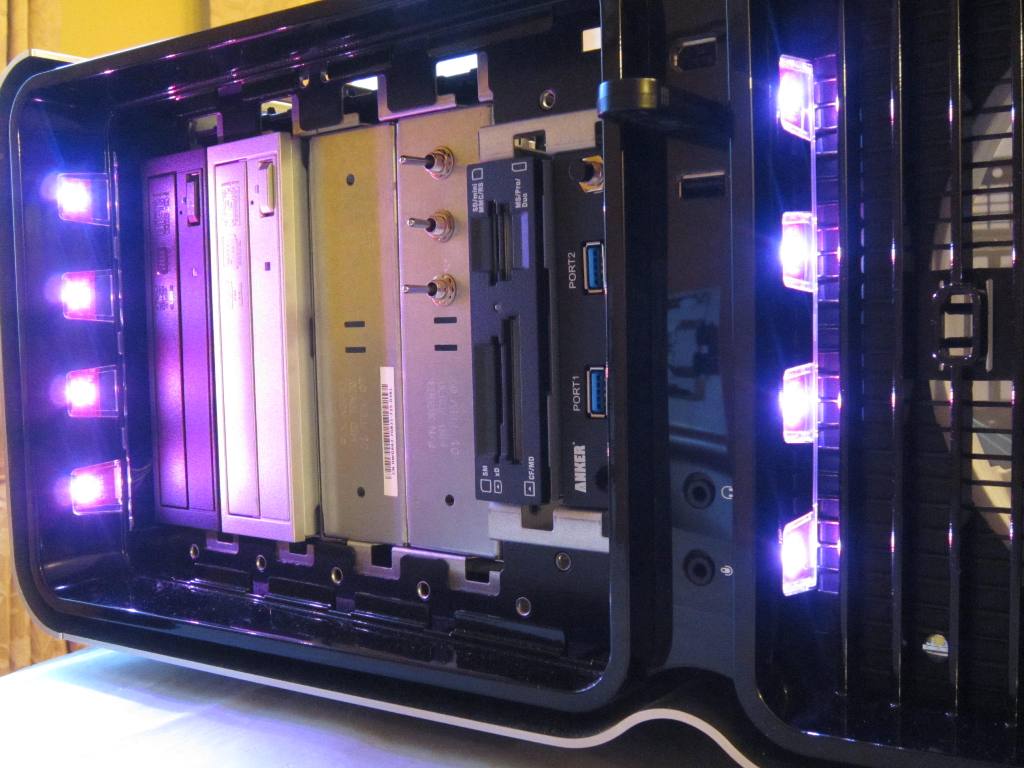
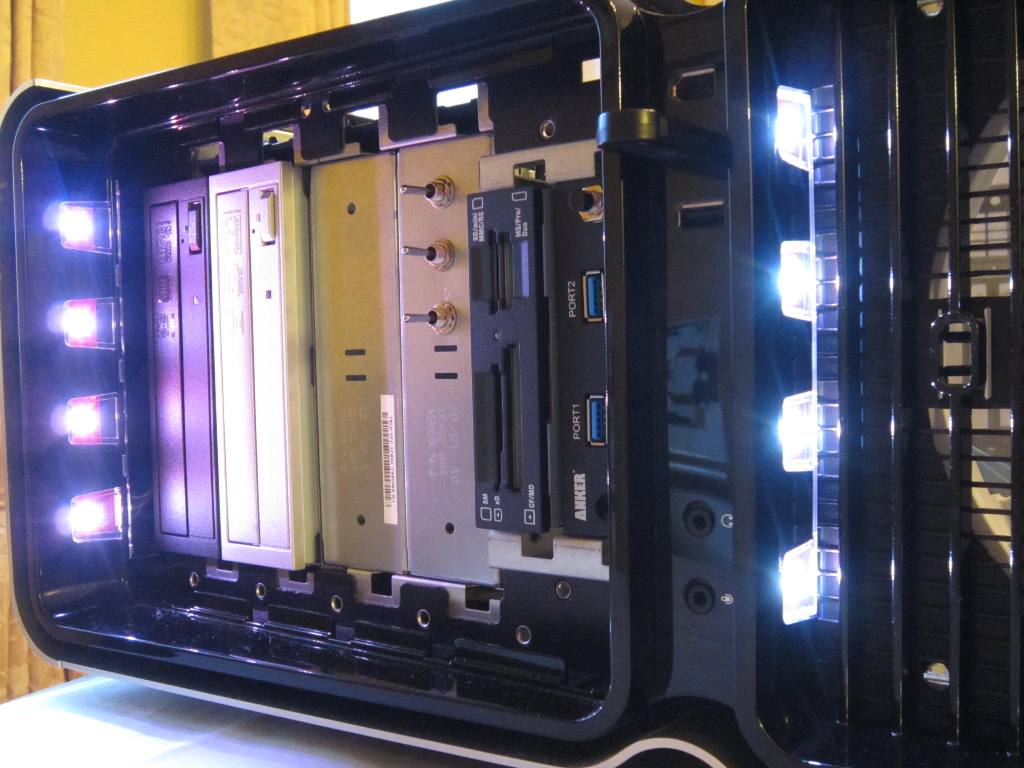
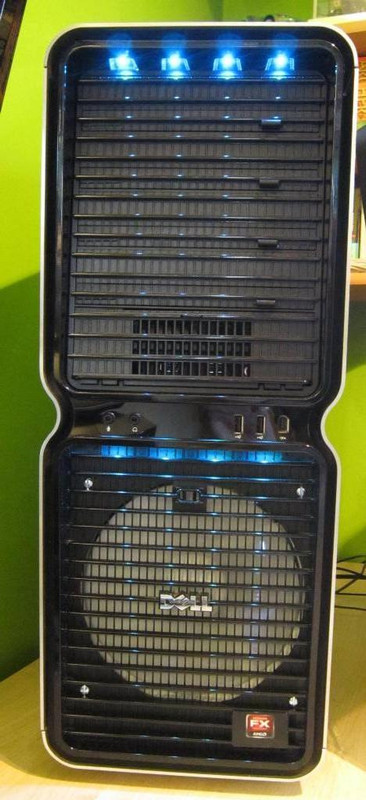
Everything at the front can be left in place at this time including the grille + LEDs, front panel, drive bays etc.
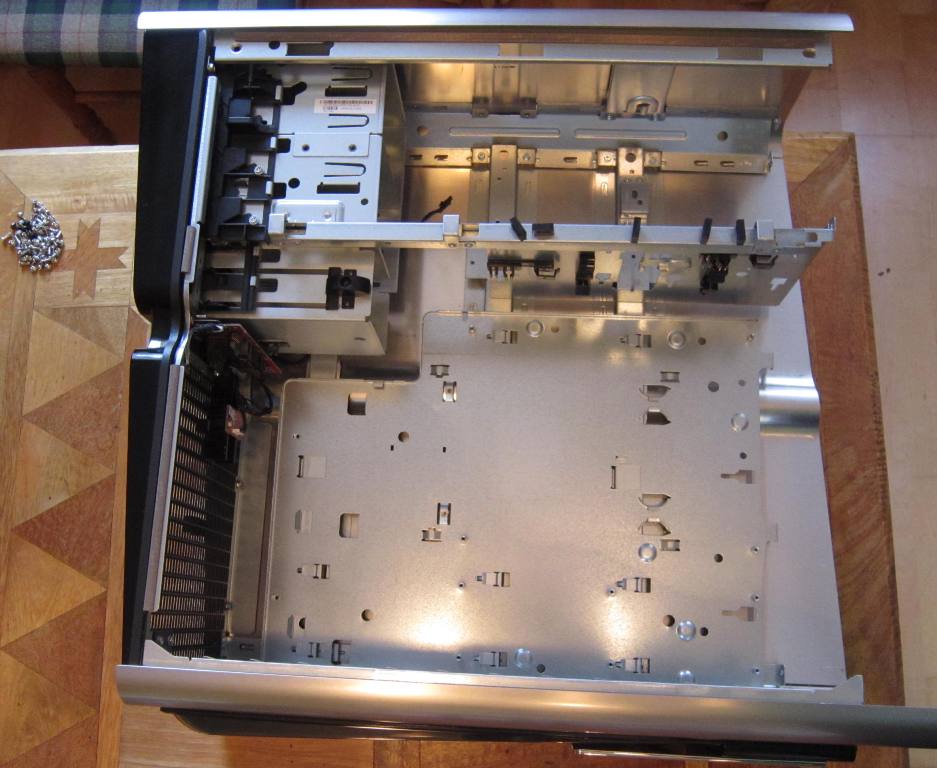

The next job is to modify the back panel. See next post..
I bought a Dell XPS 710 with a QX6700 CPU back in May 2007, and it was my main computer at home for the next 5 years. Until one day in October 2012, when it refused to switch on. I thought (and hoped) the problem might be in the PSU and bought another on eBay for £35. But it still wouldn't start and I had to accept the motherboard, known to be a weakness on these machines, had expired. Unwilling to invest further in failure by buying a replacement BTX mobo I bought a Coolermaster HAF922 case, ASUS P5K mobo, Zalman CNPS9900 cooler and OCZ 750W PSU. Into the new case I transferred the QX6700, DDR2 RAM, HDDs, DVDs, and soon I was up and running again.
But I missed that gorgeous Dell XPS case and wanted to use it to build a new rig. However, there are issues: the main one being that its BTX motherboard has the slots on the left and the ports on the right, but BTX is old-tech (socket 775 stuff) and upgrading to an ATX board means having to accommodate the case to accept ports on the left and slots on the right. There are other issues: with the proprietary Dell PSU and with the front panel and the LEDs.
A bit of time on Google showed that a number of people had converted the case to accept an ATX motherboard. It didn't look easy, requiring good skills at metalwork and electrics. And some people went as far as welding and painting. Nevertheless, aiming more at crude-but-functional than perfection, with my limited skills and toolset, I decided to have a go.
I took a few pictures along the way, and having now nearly succeeded, I thought I'd share the experience..
1. GUT THE CASE
Remove all the internal components - only requires a screwdriver. The plastic back grille is held on by screws and easily removed. The black back panel however is held on by rivets and these have to be drilled out.


Everything at the front can be left in place at this time including the grille + LEDs, front panel, drive bays etc.


The next job is to modify the back panel. See next post..
Last edited:


